Register a Tailscale Account
Log in to the Tailscale official website.https://login.tailscale.com/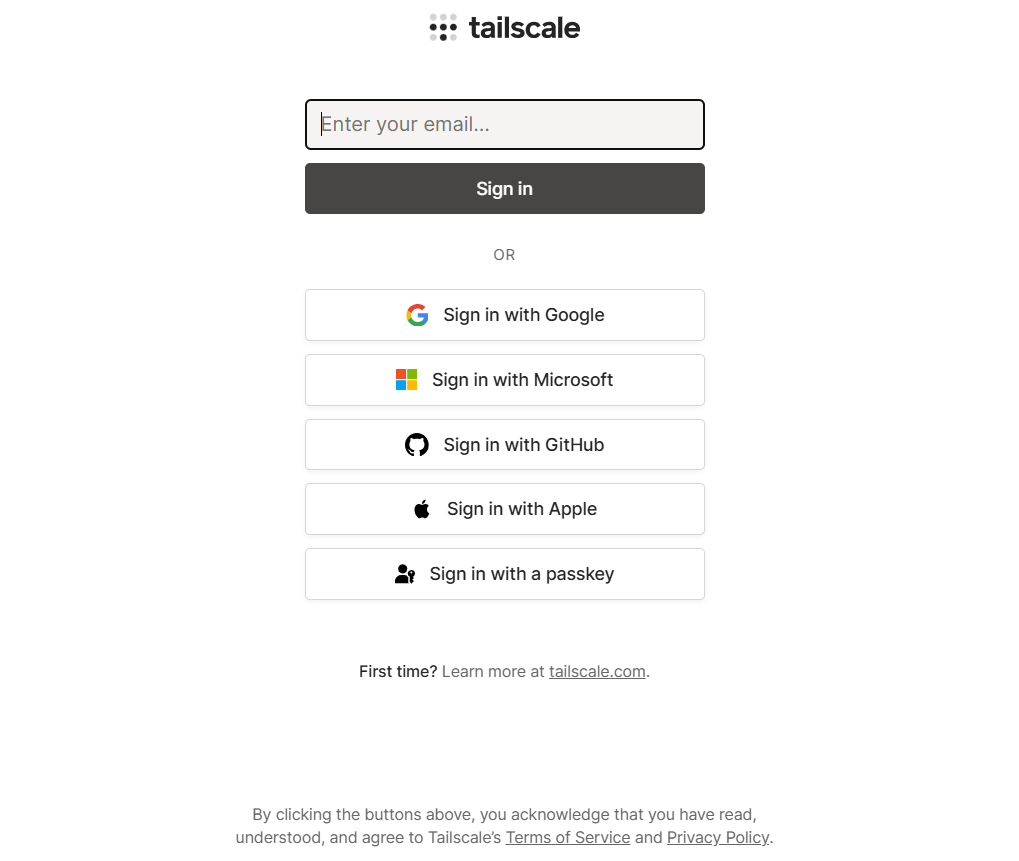
Download the Client
After logging in, click on "Skip this introduction" to bypass the initial guide. Click the "Download" button and choose the client version you need. 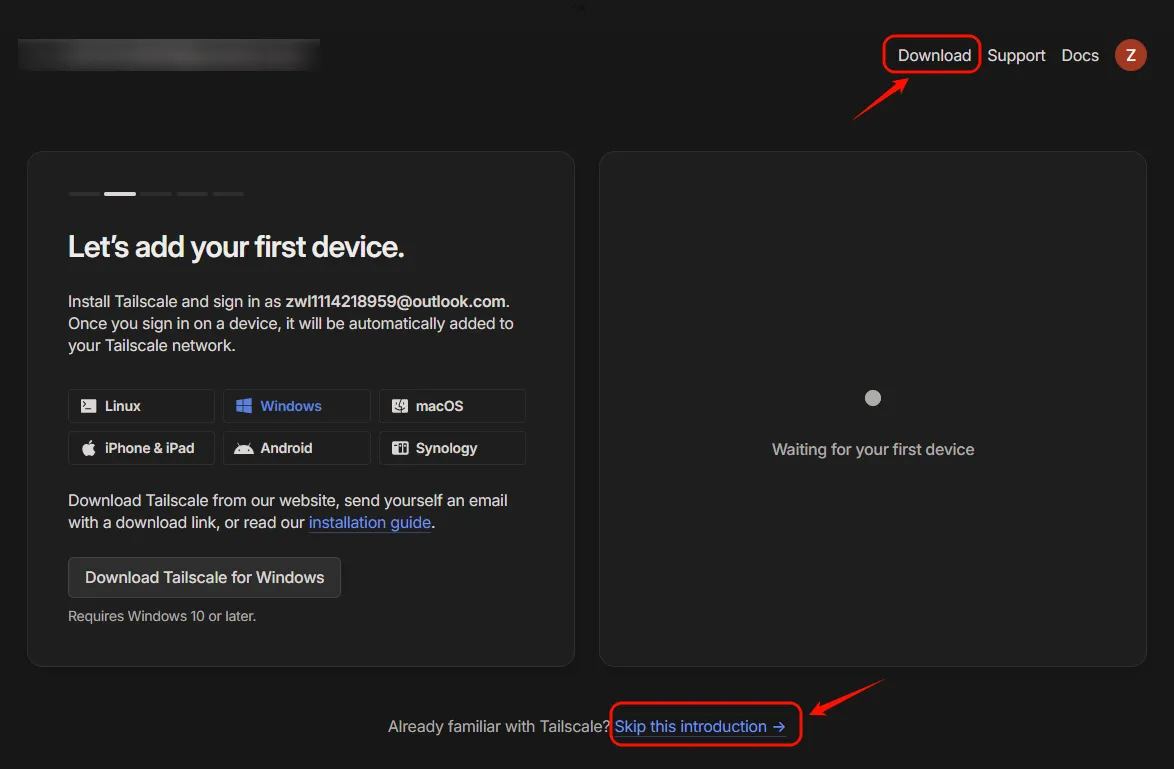
Generate Authentication Key
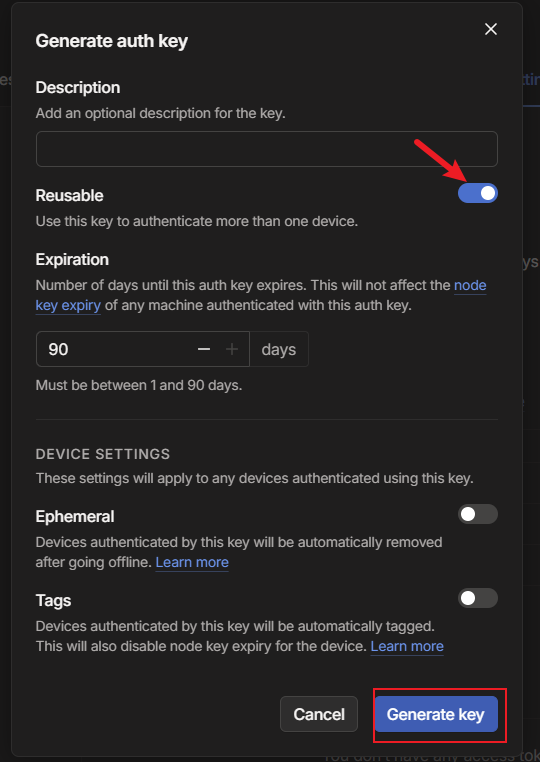
- On the "Settings" page, click "Generate auth key" to create an authentication key.
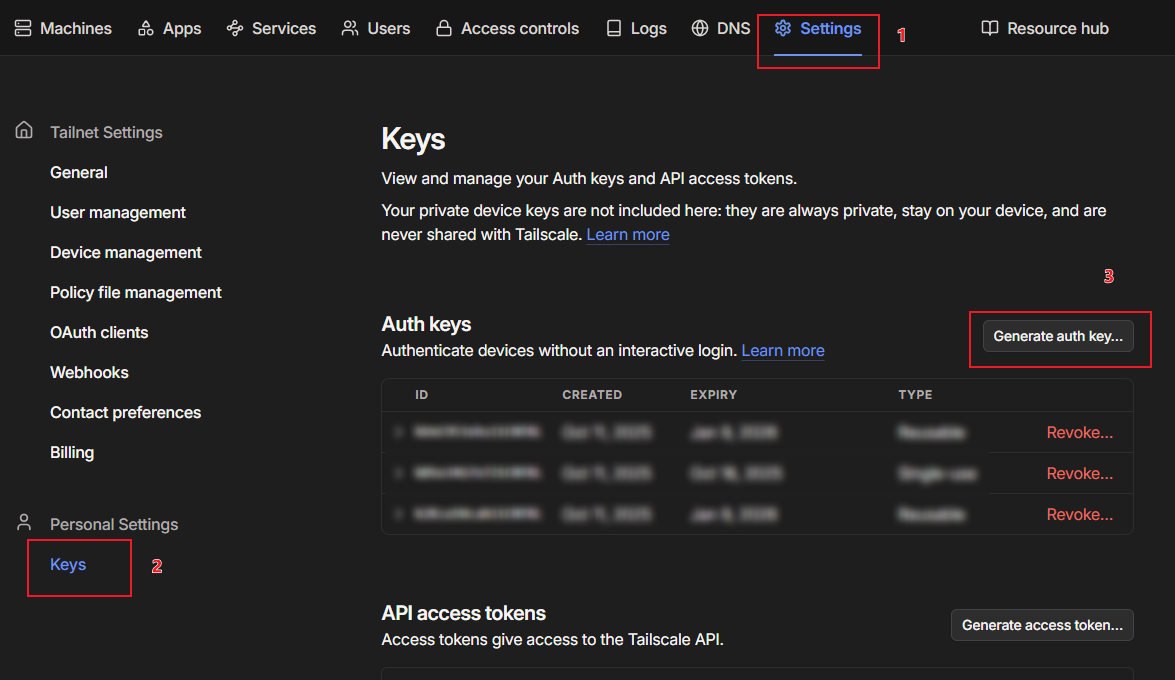
- Turn on the Reusable switch and click Generate key.
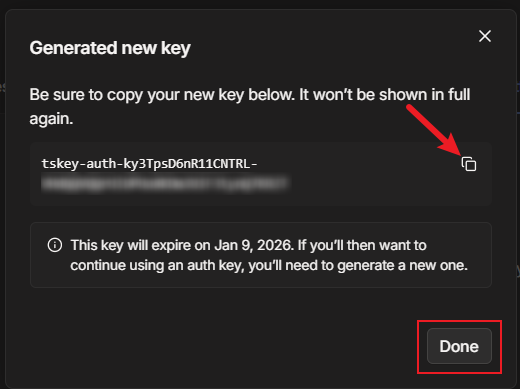
- Copy the generated key and save it to a text file for future use.
- After saving, click Done.
Create a Docker Compose project
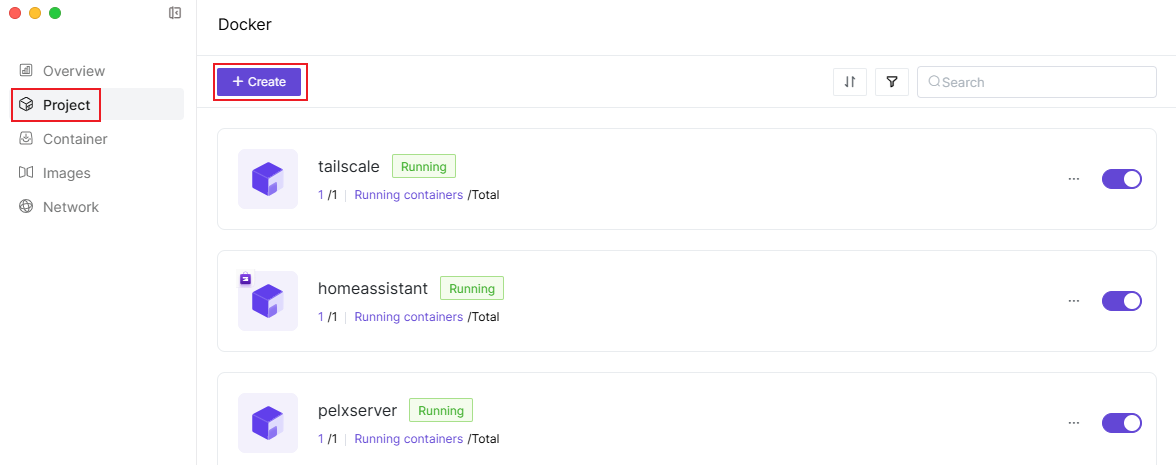
- Open the 【Docker】, click on [Project] > [Create] to launch the project creation wizard.
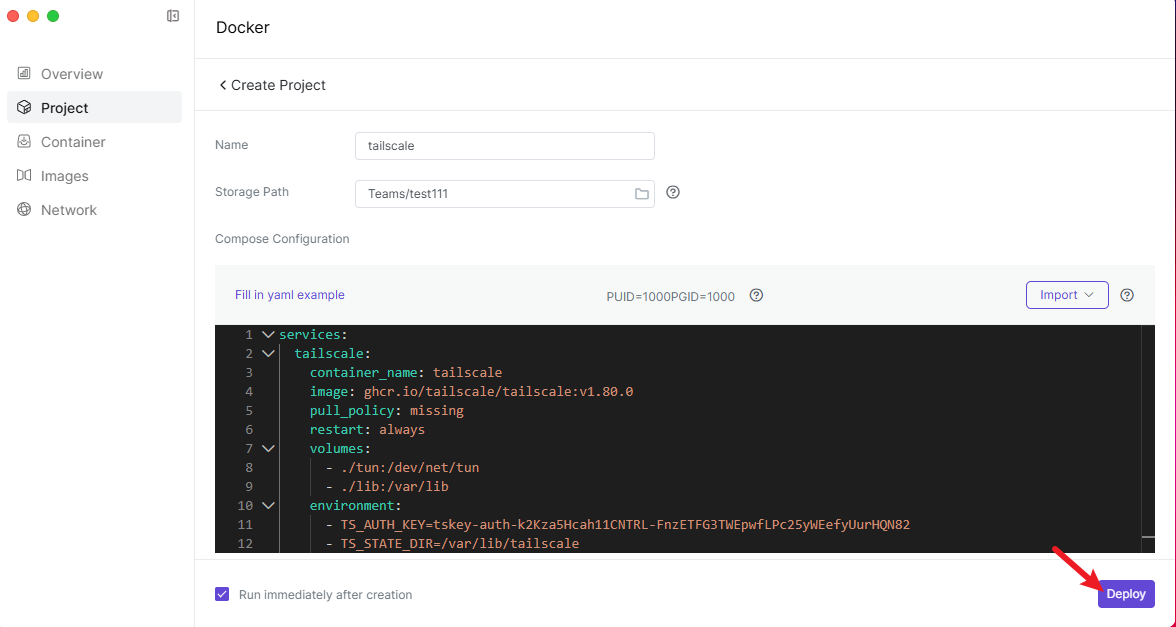
- In the project creation wizard, enter the following Docker Compose configuration information for the container. These configurations are for reference only, and you can adjust them according to your own needs.
services:
  tailscale:
    container_name: tailscale
    image: ghcr.io/tailscale/tailscale:v1.80.0 # Image Name
    pull_policy: missing
    # always: Always pull
    # missing: Pull only if missing locally (default)
    # never: Never pull
    restart: always #Restart Policy
    volumes:
      - ./tun:/dev/net/tun
      - ./lib:/var/lib
    environment:
      - TS_AUTH_KEY=tskey-auth-k5msULvKo511CNTRL-odJfJb2aQcKSprp9JpLwcKd58Fws4Pje # Enter the key generated earlier.
      - TS_STATE_DIR=/var/lib/tailscale # Fixed value, no need to change.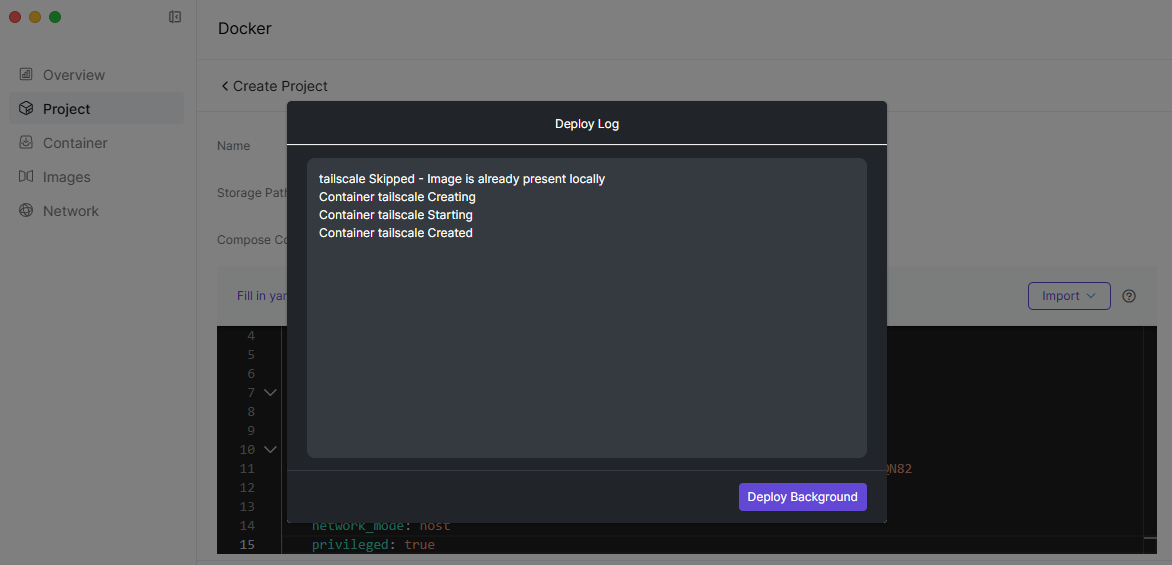
network_mode: host # Use the host networking mode.- After filling in the configuration file, click "Deploy", and the system will automatically pull the image and start the container.
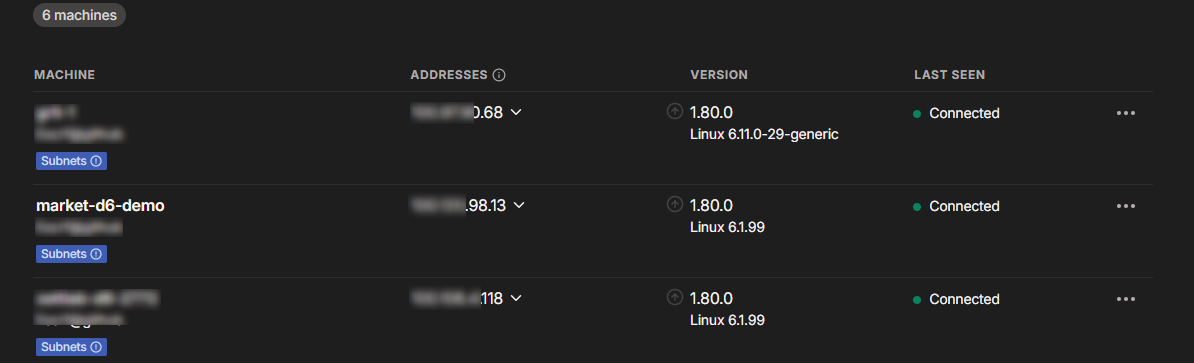
Guide for Use
After the container is deployed and running, log in to the Tailscale management console. Check if the NAS appears in the Machines list. If it is displayed, it indicates that Tailscale has been successfully deployed.